今天打算介绍下通知的基本使用方法。首先,看下官网的介绍。
通知是可以在应用的常规 UI 外部向用户显示的消息。当您告知系统发出通知时,它将先以图标的形式显示在通知区域中。用户可以打开抽屉式通知栏查看通知的详细信息。 通知区域和抽屉式通知栏均是由系统控制的区域,用户可以随时查看。
具体的展示如下:

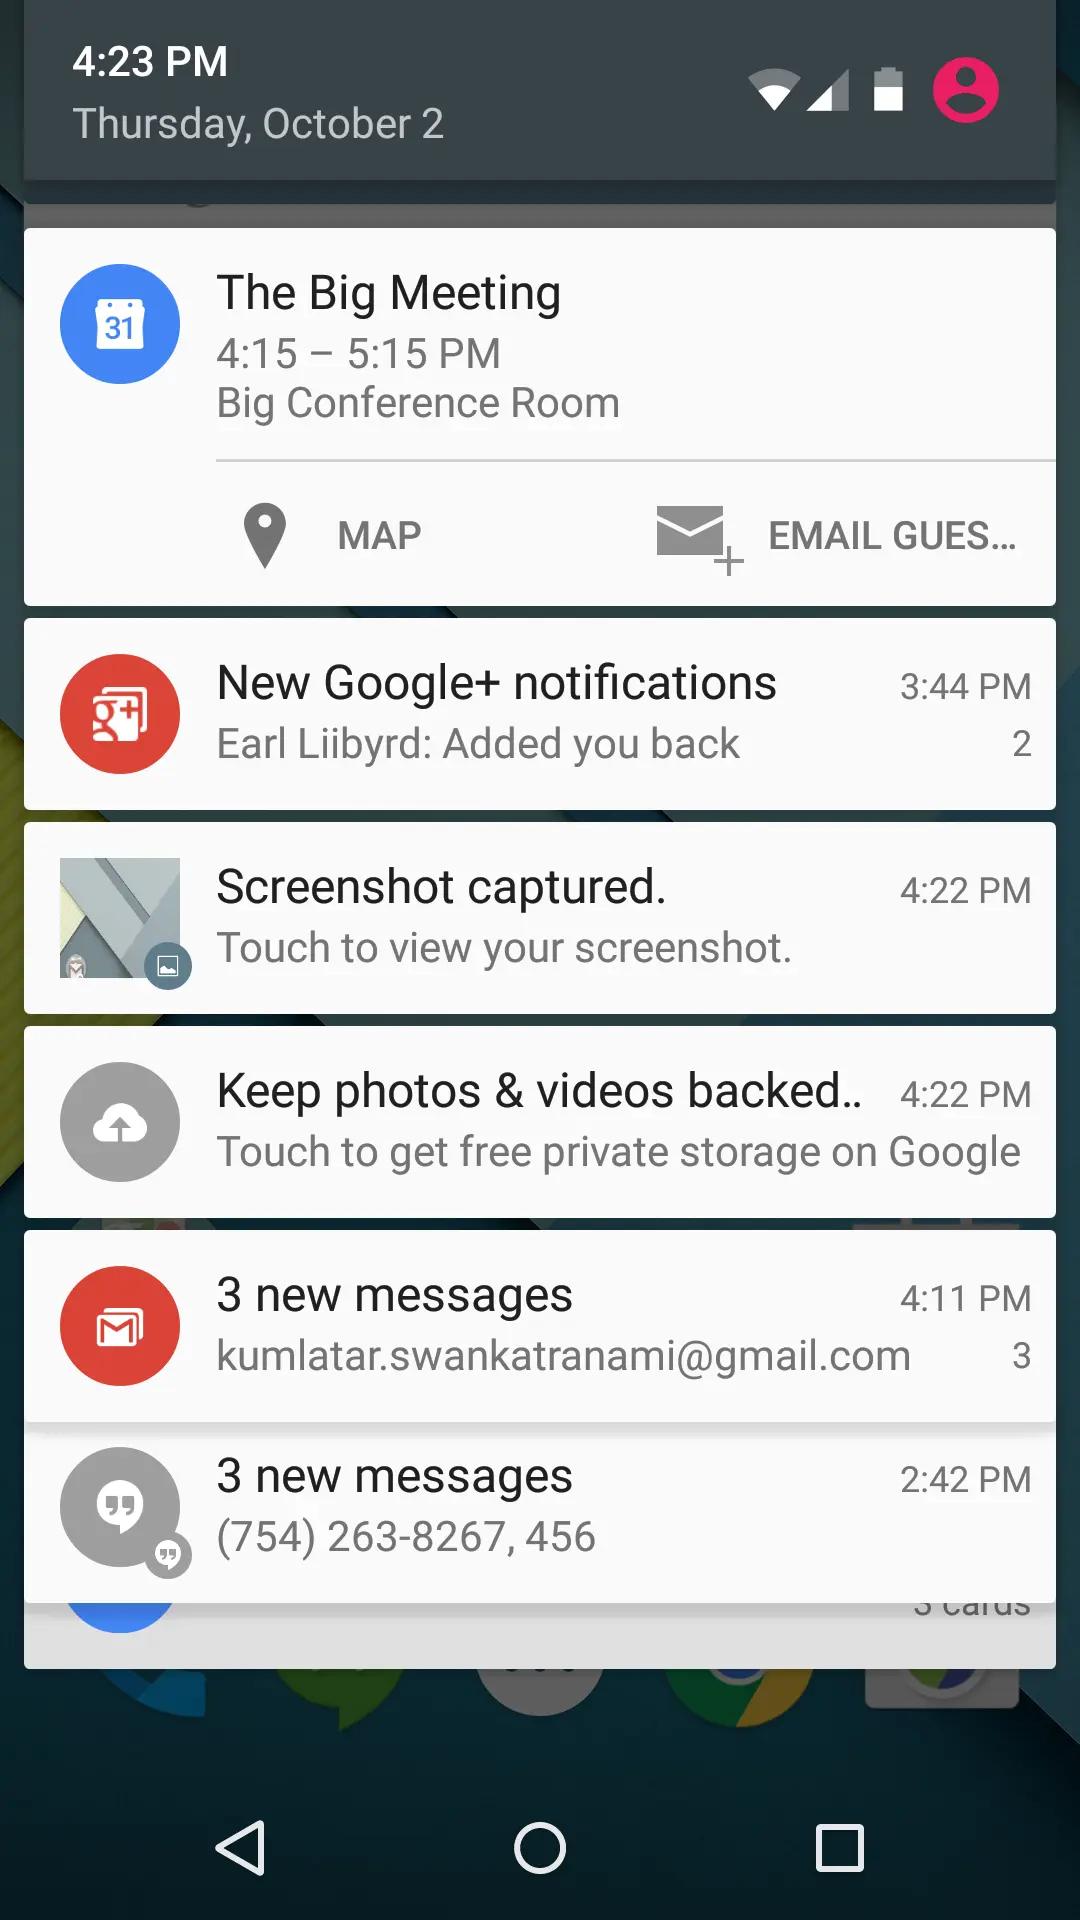
相信看完介绍,大家应该也都明白通知的一些使用场景了。现在大部分的应用都有推送功能,而推送都是用通知来展示的。比如简书每天就不定时的给你发推送。下面就介绍一下通知的具体使用方法。
基本知识#
要创建通知,我们就需要 Notification 这个类,我们可以通过 NotificationCompat.Builder 对象中为通知指定 UI 信息和操作,然后通过调用 NotificationCompat.Builder.build (),它将返回包含您的具体规范的 Notification 对象。然后通过 NotificationManager.notify ()
将 Notification 对象传递给系统,由系统来帮你完成后续的处理。
Notification 对象必须包含以下三个元素:
- 小图标,由 setSmallIcon () 方法设置
- 标题,由 setContentTitle 方法设置
- 详细文本,由 setContentText () 设置
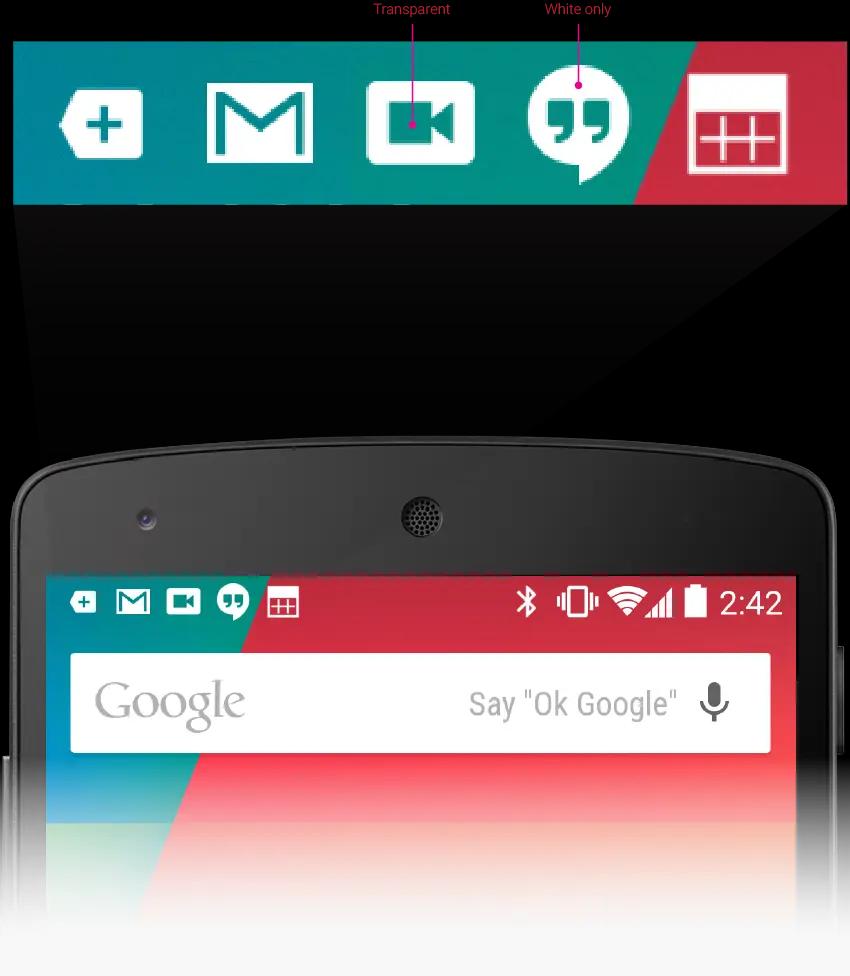
也就是说这三个元素是必须的,不然就算创建了 Notification 对象也是发不出去的。另外就是需要解释一下这个小图标,小图标是指图一通知区域的小图标,也是图二中通知大图右下角的小图片,他是一个特殊的图。5.0 后 Android 官方要求,所有应用程序的通知栏图标,应该只使用 alpha 图层来进行绘制,而不应该包括 RGB 图层。即不要为通知的图标添加任何额外的透明度,渐变色,不要用颜色将通知图标与其他应用,比如系统应用,应用的通知图标 (即小图标) 只能是在透明的背景上有白色的图案。
另外具体的设计可以参考 materia design 关于 Notification 的设计规范,地址https://material.io/guidelines/patterns/notifications.html
下面贴两张图来让大家更明了各个参数对应的 UI 显示,
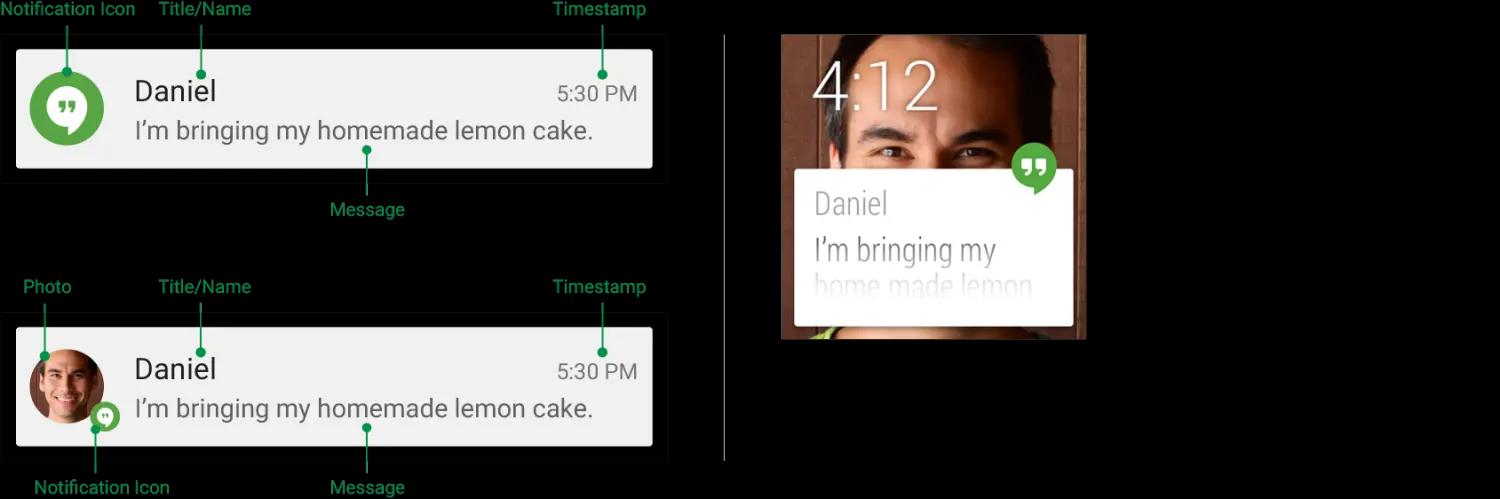
上图的 NotificationIcon 其实是 smallIcon,Title 即 ContentTitle,Message 即 ContentText, 另外还有时间戳等。所有的通知的其他设置都是可选的。
通知操作#
我们设置好了通知之后,需要再向通知添加一个操作,以用来相应用户的点击操作。当然你也可以不加这个操作,就让它挂在通知栏,用户点了就是没反应,但是这样用户体验多不好。用户点击通知后可以让用户从通知直接跳转到相应的 activity,以执行下一步操作。在 Notification 内部,操作本身由 PendingIntent 定义,后者包含在应用中启动 Activity 的 Intent。
创建通知#
我们可以通过以下步骤去创建一个通知
- 先创建 NotificationCompat.Builder,并且可以通过这个 builder 去设置通知需要的内容,来生成 Notification。
NotificationCompat.Builder builder = new NotificationCompat.Builder(context);
Notification notification = builder
.setContentTitle("这是通知标题")
.setContentText("这是通知内容")
.setSmallIcon(R.mipmap.ic_launcher)
.setLargeIcon(BitmapFactory.decodeResource(
  getResources(), R.mipmap.ic_launcher))
.build();
-
设置优先级
通知还有优先级,我们可以通过 setPriority () 传入通知的优先级,目前通知的优先级有五个等级,范围从 PRIORITY_MIN (-2) 到 PRIORITY_MAX (2);如果未设置,则优先级默认为 PRIORITY_DEFAULT (0)。优先级越高,在通知栏就排的越往上。 -
设置一个点击后的动作
如之前所说的,我们可以通过 pendingIntent 来设置一个通知点击后的操作。比如跳转到一个 activity。
Intent resultIntent = new Intent(this, ResultActivity.class);
PendingIntent resultPendingIntent = PendingIntent.getActivity(
            this, 0, resultIntent, PendingIntent.FLAG_UPDATE_CURRENT);
mBuilder.setContentIntent(resultPendingIntent);
通过这种方式就可以让用户点击通知后跳转到 ResultActivity 页面了。
- 用 NotificationManager 发送通知
NotificationManager mNotificationManager =
    (NotificationManager) getSystemService(Context.NOTIFICATION_SERVICE);
// mId allows you to update the notification later on.
mNotificationManager.notify(mId, mBuilder.build());
- 更新通知
当我们需要更新通知中的内容的时候就可以依据上面设置的通知的 id 去更新的通知,只需要通知 Id 相同就可以更新,具体操作其实和创建差不多,官方的示例代码如下:
mNotificationManager =
        (NotificationManager) getSystemService(Context.NOTIFICATION_SERVICE);
// Sets an ID for the notification, so it can be updated
int notifyID = 1;
mNotifyBuilder = new NotificationCompat.Builder(this)
    .setContentTitle("New Message")
    .setContentText("You've received new messages.")
    .setSmallIcon(R.drawable.ic_notify_status)
numMessages = 0;
// Start of a loop that processes data and then notifies the user
...
    mNotifyBuilder.setContentText(currentText)
        .setNumber(++numMessages);
    // Because the ID remains unchanged, the existing notification is
    // updated.
    mNotificationManager.notify(
            notifyID,
            mNotifyBuilder.build());
- 删除或取消通知
当我们需要手动取消通知的时候,可以调用 NotificationManager 的 cancel (),具体的删除有以下几种方式:
- 用户单独或通过使用 “全部清除” 清除了该通知(如果通知可以清除)。
- 用户点击通知,且您在创建通知时调用了 setAutoCancel ()
- 针对特定的通知 ID 调用了 cancel () 此方法还会删除当前通知。
- 调用了 cancelAll () 方法,该方法将删除之前发出的所有通知。
好了,到这里已经可以创建基本的 Notification 了,之后再写一些通知的其他使用方式。